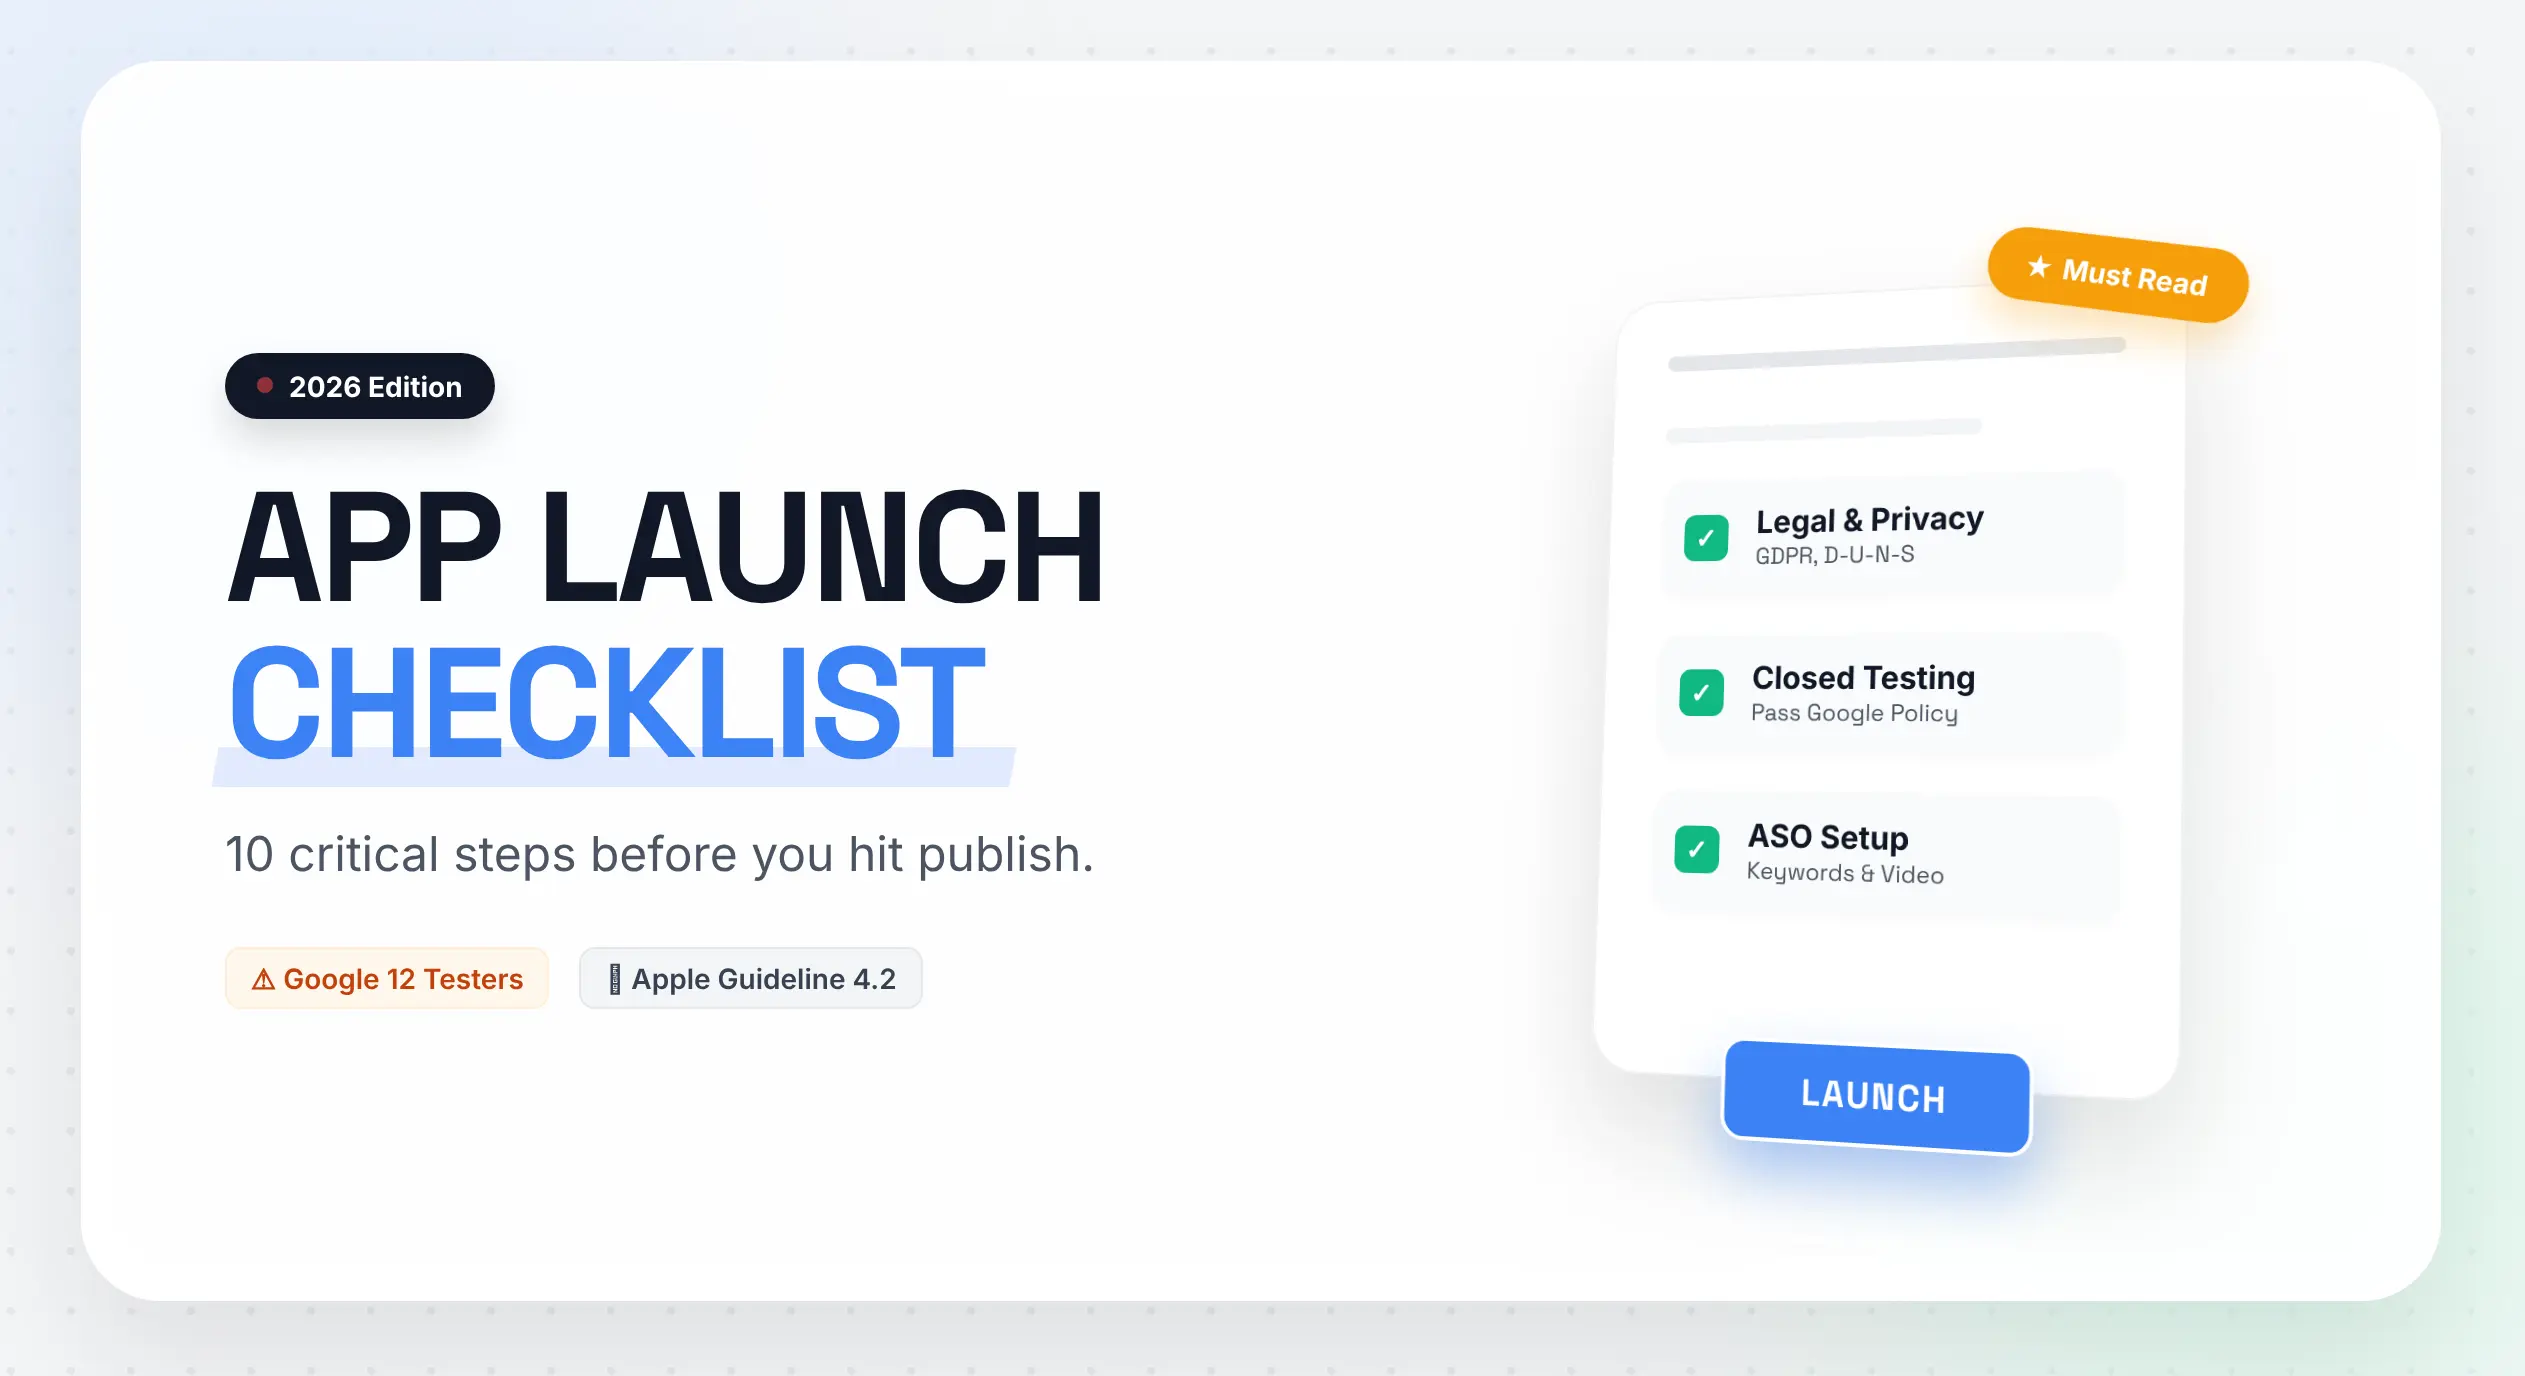
The Ultimate App Launch Checklist 2026: 10 Steps Before You Hit Publish
Building an app is hard. But launching an app? That is a completely different beast.
There is a common misconception in the software world: "If you build it, they will come." In 2026, this is a lie. There are over 5 million apps on the Apple App Store and Google Play Store combined. If you simply upload your APK/IPA file and hope for the best, you will be buried on page 500 of the search results, getting zero downloads and zero revenue.
Worse, you might face the administrative nightmares: Rejections from Apple, account bans from Google, or legal letters regarding privacy violations.
Launching an app today requires a strategy that is part Legal, part Technical, and part Psychological.
This guide is not a quick blog post. This is a comprehensive manifesto. We have broken down the entire launch process into 10 critical phases. Whether you are a solo developer or a funded startup, do not hit that "Publish" button until you have checked off every single item on this list.
Phase 1: Legal & Compliance (The Boring But Deadly Stuff)
Before you write code, you must ensure you don't get sued or banned. In 2026, data privacy laws like GDPR (Europe), CCPA (California), and LGPD (Brazil) are strictly enforced by the App Stores.
1. The Privacy Policy URL
You cannot submit an app without a Privacy Policy.
What it must say: You must explicitly state what data you collect (Email, Location, Device ID), why you collect it, and who you share it with (e.g., "We share data with Google Analytics").
The "Delete Account" Rule: Apple and Google now mandate that if your app allows users to create an account, it MUST allow them to delete it from within the app. If this button is missing, instant rejection.
2. The D-U-N-S Number (For Apple)
If you are launching as a "Company" (LLC, Pvt Ltd) and not an "Individual," Apple requires a D-U-N-S Number.
This is a unique 9-digit identifier for businesses.
Warning: Getting this number can take 2-4 weeks. Do not wait until launch week to apply for it, or your launch will be delayed by a month.
3. Terms of Use (EULA)
Apple provides a standard EULA (End User License Agreement), but if you have user-generated content (like a social network), you need a custom Terms of Service that bans hate speech and harassment.
Phase 2: The "Google Play Barrier" (Closed Testing)
This is the biggest hurdle for new developers in 2026. In the past, you could create a developer account and publish instantly. Those days are over. To stop spam, Google introduced the "12 Testers for 14 Days" rule for all personal developer accounts.
The Requirement:
Before you can even apply for Production Access (to be visible to the public), you must run a Closed Track Test.
Recruit 12 People: You need 12 unique email addresses (Gmail) added to your tester list.
Opt-In: These 12 people must accept your invitation link.
Active Testing: They must have the app installed on their device for 14 consecutive days.
Engagement: They cannot just install it and sleep. They must open the app, use features, and ideally leave feedback.
The "Production Access" Application:
After 14 days, a button appears: "Apply for Production." This is not automatic approval. You have to fill out a questionnaire asking:
"How did you recruit testers?"
"What bugs did you find?"
"Why is your app ready for the world?"
If your answers are vague, or if Google detects that your 12 testers were inactive (or bots), they will reject your access and make you start the 14 days all over again.
Pro Tip: This phase kills many projects. If you rush this or try to cheat with emulators, you will be stuck in "Testing Hell" for months.
Stuck in Rejection Loop? If Google has already denied your production access, don't panic. Read this guide on [How to Fix Google Production Access Rejection] to understand exactly why you failed and how to pass on the second try.
Phase 3: Technical Sanity Checks
Your app works on your phone. Great. Does it work on a 4-year-old Android device with a cracked screen and slow 3G internet?
1. The "Monkey Test"
Give your app to a child or a non-tech friend. Watch them use it.
Do they tap buttons you didn't expect?
Do they get stuck on the login screen?
Developers have "Tunnel Vision." Real users break things in creative ways.
2. Crash Reporting (Crashlytics/Sentry)
Never launch without a "Black Box." Integrate Firebase Crashlytics or Sentry. On launch day, if the app crashes for User #105, you need to know exactly which line of code caused it. Without logs, you are flying blind.
3. Server Load Testing
If you expect 1,000 users on Day 1, can your server handle it?
Use tools like K6 or JMeter to simulate 500 people hitting your "Sign Up" button at the exact same second.
If your API takes more than 2 seconds to respond, your server is too weak. Upgrade your VPS or optimize your database queries.
Phase 4: App Store Optimization (ASO)
ASO is SEO for apps. You can have the best app in the world, but if nobody can find it, it doesn't matter.
1. The App Title
Don't just use your brand name. Use keywords.
Bad: "FitBod"
Good: "FitBod: Home Workout & Diet" The words in your title have the highest ranking weight.
2. The Keywords Field (iOS Only)
Apple gives you a hidden field (100 characters) to type keywords.
Do not use spaces. Use commas.
Wrong: "fitness, gym, workout, health" (Spaces waste characters).
Right: "fitness,gym,workout,health,diet,weight,loss"
Do not repeat words from your Title. It doesn't help.
3. The Short Description (Android)
This is the first 80 characters users see on the Play Store. It must be a "Hook."
Focus on the benefit, not the feature.
Feature: "We use AI to track calories."
Benefit: "Lose weight in 30 days with AI tracking."
Phase 5: The Visual Assets (Make or Break)
Users decide to download your app in 3 seconds based on your screenshots.
1. The App Icon
It must be simple. No text. No complex details. Look at your phone right now. WhatsApp, Instagram, Spotify. They are all Logo + Background Color.
Test your icon on a dark background and a light background. Does it stand out?
2. Screenshots are NOT Screenshots
Do not just take a raw screenshot of your app and upload it.
Use a Mockup Generator. Put the screenshot inside a phone frame.
Add Text Captions above the phone.
Example: Screen showing a map. Caption: "Track your delivery in Real-Time."
The text sells the app. The image proves it works.
3. The Preview Video
Videos increase conversion rates by 25%.
Keep it under 30 seconds.
Show the app in action immediately. No long intro logos.
Most people watch with sound OFF, so use text overlays.
Phase 6: The Apple App Store Guidelines (Guideline 4.2)
Apple is stricter than Google. Their famous Guideline 4.2 (Minimum Functionality) states that "Your app should be more than a repackaged website."
If you built a "Web View" app (just your website inside an app shell), Apple will likely reject it.
How to Pass:
Ensure you use Native Navigation (Tab bars, native headers).
Implement Native Features like Push Notifications, Haptic Feedback, or Offline Mode.
If your app requires a login to do anything, Apple might reject it. Allow a "Guest Mode" so users can look around before signing up.
Phase 7: Analytics & Attribution
You cannot improve what you cannot measure.
1. Attribution (Where did they come from?)
If you get 100 downloads, you need to know:
Did 50 come from Instagram?
Did 30 come from Google Search?
Did 20 come from a friend's referral? Tools like AppsFlyer, Adjust, or Branch.io help you track the "Source" of the install.
2. In-App Events
Don't just track "Installs." Track "Value."
Set up events for:
tutorial_completed,add_to_cart,purchase,share.This helps you find the "Bottle Neck." If 100 people install, but only 10 complete the tutorial, you know your tutorial is too boring.
Phase 8: The Soft Launch Strategy
Never launch globally on Day 1. If you have a major bug, and you launch in the USA, you will get hundreds of 1-star reviews that will destroy your reputation forever.
The Strategy:
Launch in a "Look-alike" country first.
If your target is the USA, soft launch in Canada or Australia first.
If your target is India, soft launch in the Philippines or Pakistan.
Run ads for $50. Get 100 users. Watch the logs. Fix the crashes. Once your app is stable (crash-free for 99% of sessions), THEN release it to your main market.
Phase 9: The Marketing "Pre-Launch"
You should start marketing 30 days before the app is live.
1. The Waitlist
Build a simple landing page (using Next.js or WordPress) that says: "Coming Soon. Join the waitlist for early access." Collect emails.
2. Social Proof
Post "Behind the Scenes" content on Twitter/LinkedIn. "Building the payment flow today! Here is a sneak peek." People love following a journey. By the time you launch, these followers will be your first champions.
Phase 10: Launch Day Protocol
The day has arrived. Your app is approved. You are ready to click "Release."
Your Checklist for Launch Morning:
Check the Date: Do not launch on a Friday. If something breaks, you will work all weekend. Launch on a Tuesday or Wednesday.
Monitor Servers: Keep your server logs open. Watch for CPU spikes.
Reply to Reviews: The first 10 reviews are critical. If someone leaves a 5-star review, thank them. If someone leaves a 1-star review complaining about a bug, reply immediately: "Hey, we fixed this in version 1.0.1, please update!"
Send the Email Blast: Notify your waitlist.
Press the Button: Release the app to "Production."
Conclusion: It Never Ends
Publishing the app is not the finish line; it is the starting line. The real work—retention, updates, customer support—starts now.
But if you have followed these 10 steps, you are already ahead of 90% of developers who launch blindly. You have a legal, stable, optimized, and tested product. The odds of success are now in your favor.
Good luck. The world is waiting for your app.